- Download and install the IIS URL Rewrite module, then launch IIS Manager.
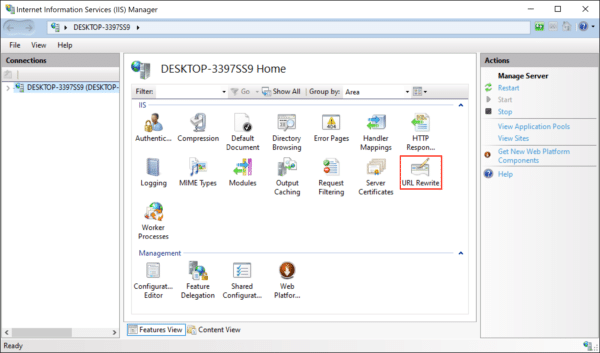
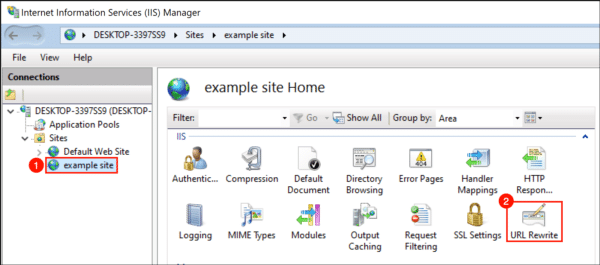
- Select the website you want to apply redirection to, then double-click URL Rewrite.
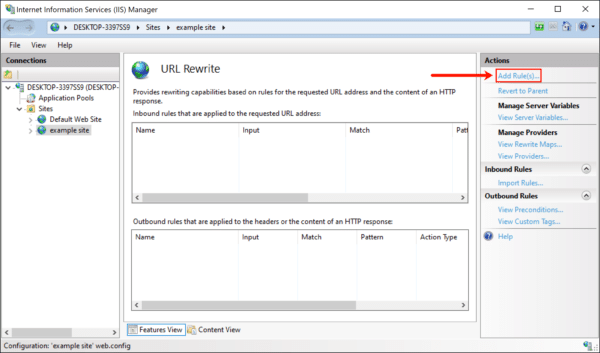
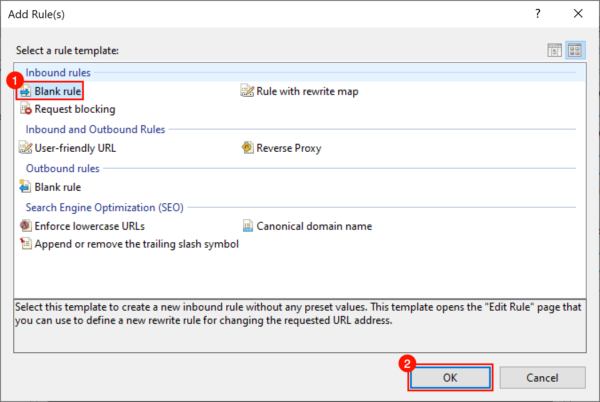
- Click Add Rule(s)…
- Select Blank rule in the Inbound rules section, then click the OK button.
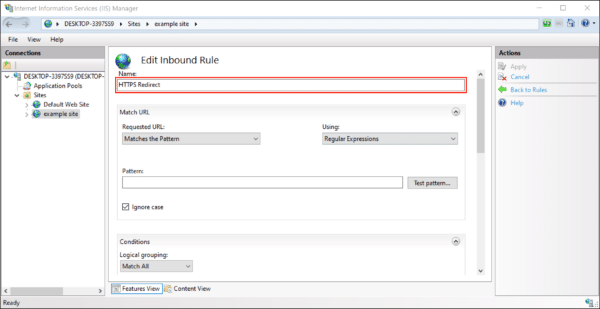
- Give your redirect an easy-to-remember name.
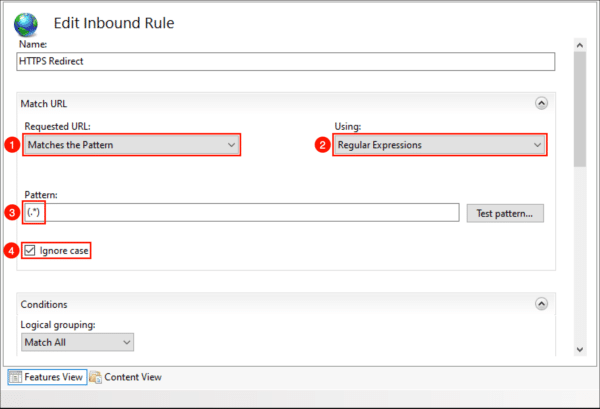
- In the Matched URL section:
- Set Requested URL: to Matches the Pattern.
- Set Using to Regular Expressions.
- Enter (.*) as the Pattern.
- Check Ignore case.
- Scroll down to Conditions and expand the section if necessary. Select Match All for Logical grouping, then click the Add… button.
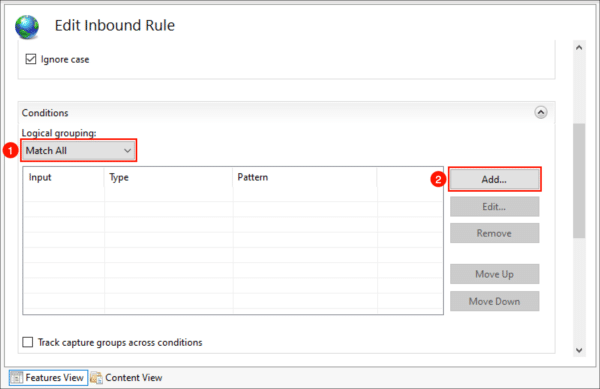
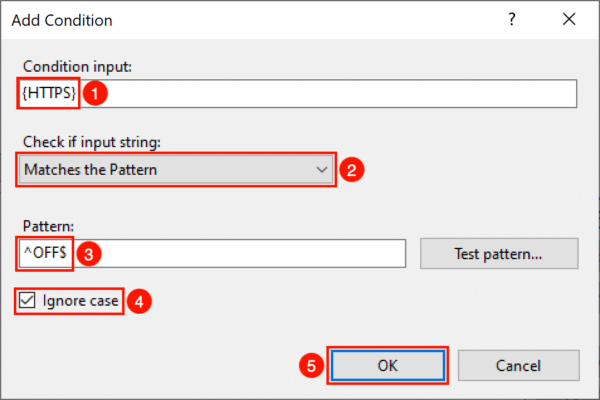
- A dialog box will open:
- Type {HTTPS} in the Condition input field.
- Set Check if input string to Matches the Pattern.
- Type ^OFF$ in the Pattern field.
- Check Ignore case.
- Click the OK button.
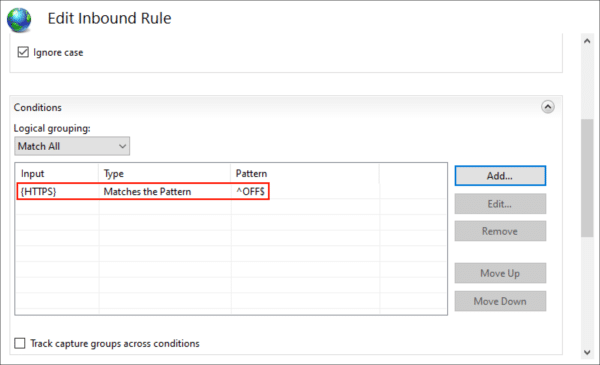
- You should now see your condition in the list.
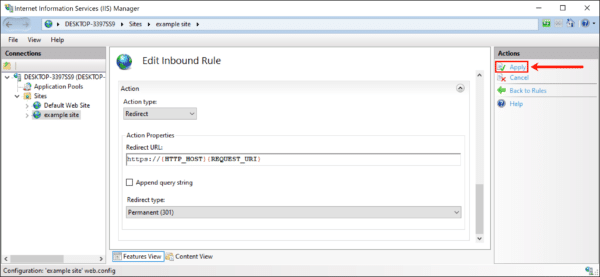
- Scroll down to the Action section and enter these settings:
- Select Redirect as the Action type.
- Type https://{HTTP_HOST}/{REQUEST_URI} in the Rewrite URL field.
- Uncheck Append query string.
- Set Redirect type to Permanent (301).

- Click Apply in the right-hand Actions menu.
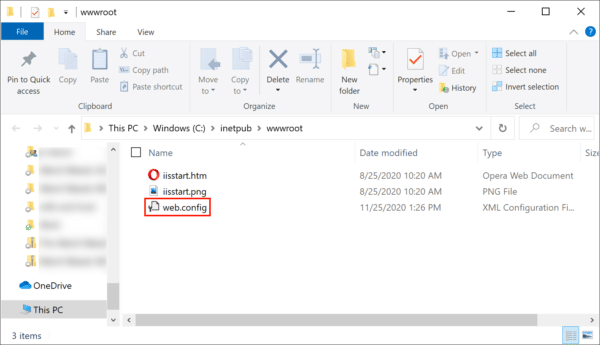
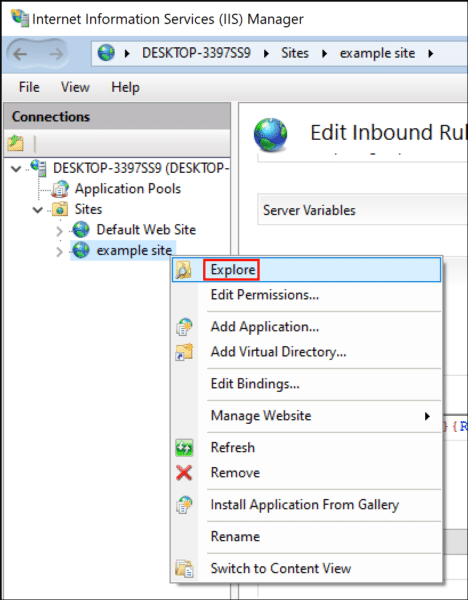
- You can now check your redirect in a web browser. If there are any problems, you can check the site’s web.config file to make sure it contains the correct information. In IIS Manager, right-click your site and choose Explore from the menu.
- Confirm that the file web.config exists, then open it in a text editor.