
<VirtualHost *:80>
ServerName example.com
Redirect “/” “https://example.com/”
</VirtualHost>
<VirtualHost *:80>
ServerName example.com
Redirect “/” “https://example.com/”
</VirtualHost>
On-prem Exchange did not allow message tracking via the Exchange admin center. In Office 365, EAC enables message tracing and offers quite a comfortable experience. Although usually I prefer administrating Exchange Online with PowerShell, I must say that in this case, EAC seems to do its job very efficiently.
Note: It was also possible to perform a message trace in the Microsoft 365 Security and Compliance center. However, Microsoft announced this method is blocked after November 2021 (it was rescheduled from October 5, 2021).
To access Message trace, you can either use this link, or go to Exchange admin center > Mail flow > Message trace:

Now, you can either click Start a trace to specify your search criteria from scratch or use one of the templates available below. Templates open the same New message trace window, but they have some fields predefined.
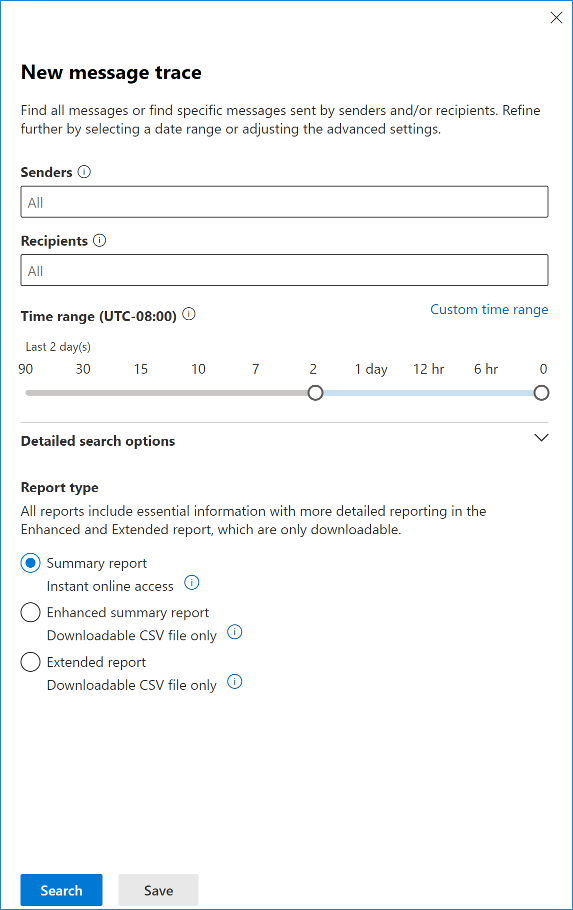
This window lets you define the criteria for the reports you want to generate. You can define the following criteria:
Additionally, you can click Detailed search options to make your query even more granular:
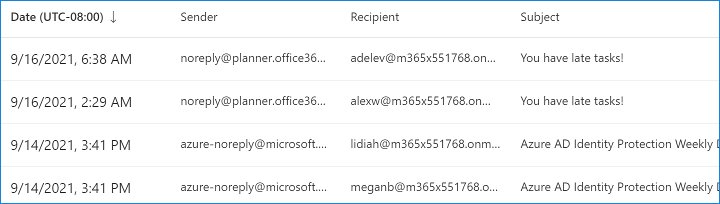
Remember, tracing messages older than ten days is treated like a Historical Search, no matter if you use EAC or PS. It means that you will have to wait for your reports either way. Generating the reports might take up to a few hours. If you trace messages from the past ten days, clicking search will open a window with the results:
If you want to see details for a chosen email, click it, and a new window will open:
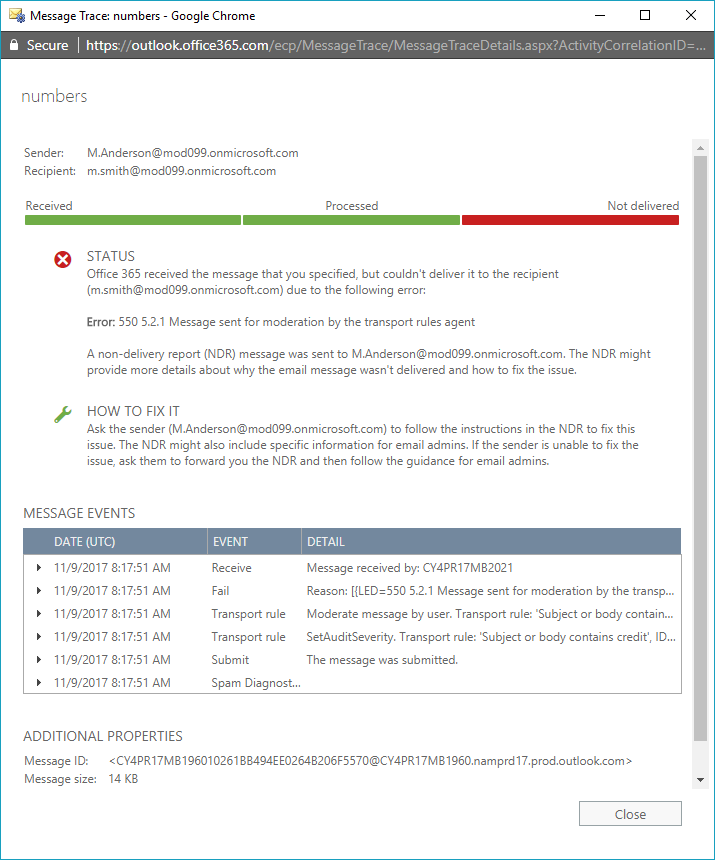
In this window, you can check what happened to the message. In the example above, you can see that the delivery failed because of a transport rule. You can easily check which transport rule caused the problem and fix the issue.
Back in the main message trace window, you can go to Downloadable reports tab to see a list of the historical searches and extended reports you have requested. If you have started a Historical Search using PowerShell and failed to specify the –NotifyAddress parameter, this is the only place to learn if the message trace is finished and to download the csv file with your report.
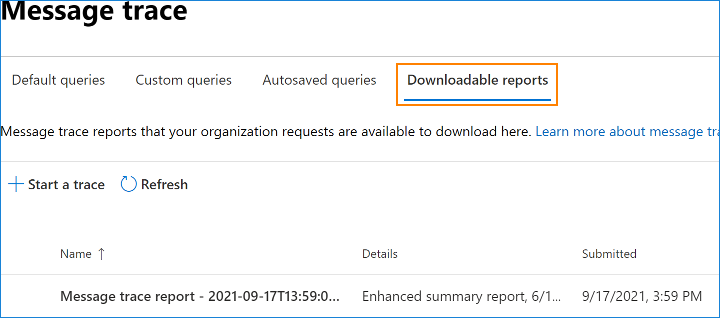
The downloaded report is in the CSV format. Each row displays information about a single email. To make your report more readable, you can open it in Excel or another spreadsheet.
1. Configure IIS
Control Panel | Programs | Turn Windows features on or off
Check Internet Information Services
Check IIS | World Wide Web Services | Application Development Features | CGI
OK

2. Install the NTS (non-thread safe) 64-bit version of PHP
Download and save onto the machine:
http://windows.php.net/downloads/releases/php-7.x.x-nts-Win32-VC14-x64.zip
Extract all the contents of the zip file to C:\PHP

Now edit the System PATH variable so IIS knows where the PHP executables are:
Control Panel | System and Security | System | Advanced System Settings
Environment Variables
System Variables | Path | Edit
New -> C:\PHP

3. Configure the php.ini file. This is the part you’d never figure out without some help.
Make a copy of file C:\PHP\php.ini-development and save it as C:\PHP\php.ini
Edit file php.ini by finding the following entries, uncomment them, and change values to:
1. fastcgi.impersonate = 1
2. cgi.fix_pathinfo = 0
3. cgi.force_redirect = 0
4. open_basedir = “C:\inetpub\wwwroot”
5. extension_dir = “ext”
6. error_log=”php_errors.log”
7. uncomment the 24 Windows Extensions entries:
extension=php_bz2.dll
extension=php_curl.dll
extension=php_fileinfo.dll
extension=php_ftp.dll
extension=php_gd2.dll
extension=php_gettext.dll
extension=php_gmp.dll
extension=php_intl.dll
extension=php_imap.dll
extension=php_interbase.dll
extension=php_ldap.dll
extension=php_mbstring.dll
extension=php_exif.dll
extension=php_mysqli.dll
extension=php_oci8_12c.dll
extension=php_openssl.dll
extension=php_pdo_firebird.dll
extension=php_pdo_mysql.dll
extension=php_pdo_oci.dll
extension=php_pdo_odbc.dll
extension=php_pdo_pgsql.dll
extension=php_pdo_sqlite.dll
extension=php_pgsql.dll
extension=php_shmop.dll
Save the edited php.ini file.
4. Configure IIS to work with PHP
Run | inetmgr
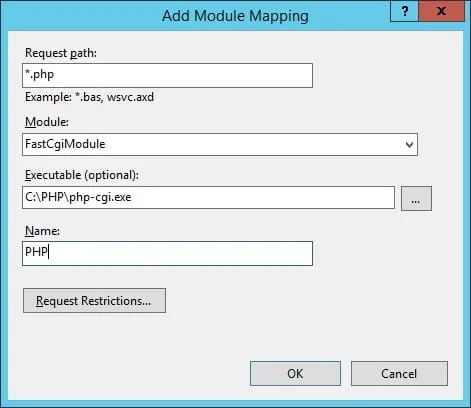
Handler Mappings | Add Module Mapping
Request path: *.php
Module: FastCgiModule (from the dropdown)
Executable (optional): C:\PHP\php-cgi.exe
Name: FastCGI
OK (Yes)

5. Test the installation and configuration
Launch Notepad with Administrative privleges. Create a file test.php and save it at C:\inetpub\wwwroot. The contents are (I use an image because my blog software would choke on HTML text):

Now launch a browser and navigate to

First, we need to access the PHP website for Windows.
Locate and download the Non-Thread Safe (NTS) versions of PHP.
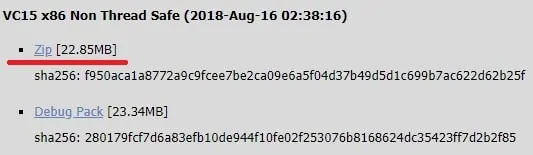
In our example, the following file was downloaded: php-7.2.9-nts-Win32-VC15-x86.zip.
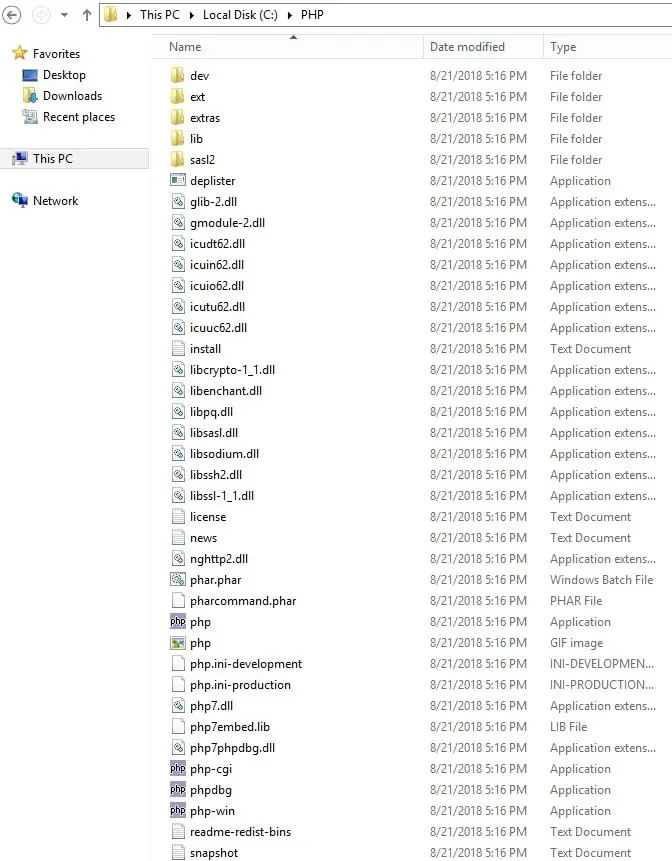
Create a directory named PHP on the root of your C drive.
Extract the content of the file inside the PHP folder.
PHP for Windows requires the installation of a specific version of Microsoft Visual Studio.
In our example, we downloaded the PHP package build VC15.
PHP Build VC 15 requires the installation of the Microsoft Visual Studio version 2017.
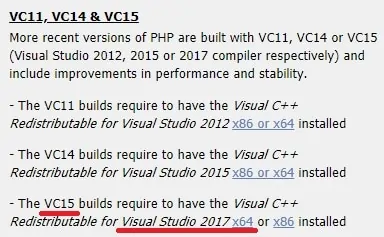
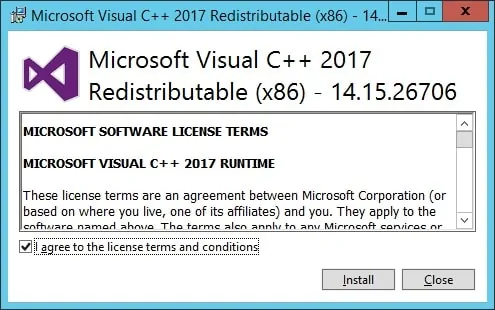
Download and install Microsoft Visual Studio version 2017 x86.
After finishing the Visual Studio installation, we need to add the PHP directory to the PATH environment variable.
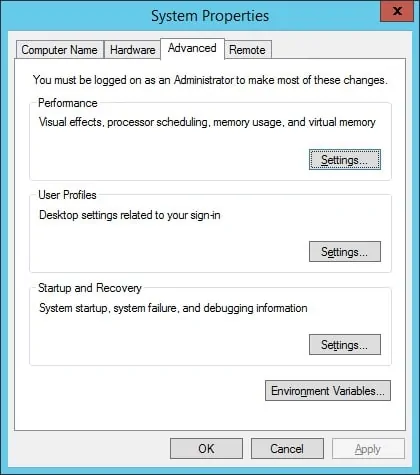
Access the System properties window.
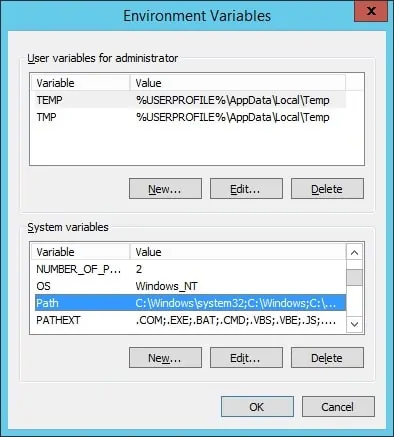
Access the Advanced tab and click on the Environment variables button.
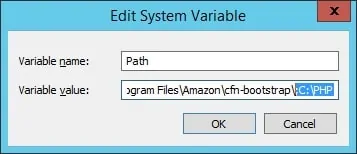
Select the PATH variable and click on the Edit button.
Add the PHP directory to the end of the PATH variable value.
Copy to Clipboard
;C:\PHP
Open the Windows explorer application and access the PHP folder.
Locate the file named PHP.INI-PRODUCTION.

Rename PHP.INI-PRODUCTION to PHP.INI
Edit the file named PHP.INI.
Here is the original file, before our configuration:
Copy to Clipboard
; date.timezone =
; fastcgi.impersonate = 1
; cgi.fix_pathinfo=1
; cgi.force_redirect = 1
; extension_dir = "ext"
; extension=bz2
; extension=curl
; extension=gd2
; extension=ldap
; extension=mbstring
; extension=mysqli
; extension=openssl
Here is the file, after our configuration.
Keep in mind that your timezone file may not be the same as mine.
Copy to Clipboard
date.timezone = America/Sao_Paulo
fastcgi.impersonate = 1
cgi.fix_pathinfo=1
cgi.force_redirect = 0
extension_dir = "ext"
extension=bz2
extension=curl
extension=gd2
extension=ldap
extension=mbstring
extension=mysqli
extension=openssl
Test the PHP installation.
Open a DOS command prompt and enter the following command.
Copy to Clipboard
C:\> php -info
phpinfo()
PHP Version => 7.2.9
System => Windows NT TECH-DC01 6.3 build 9600 (Windows Server 2012 R2 Standard dition) i586
Build Date => Aug 15 2018 23:05:53
Compiler => MSVC15 (Visual C++ 2017)
Architecture => x86
Congratulations! you installed PHP on the Windows server.
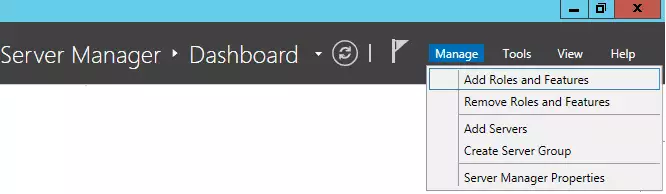
Open the Server Manager application.
Access the Manage menu and click on Add roles and features.
Access the Server roles screen, select the Web Server (IIS) option and click on the Next button.
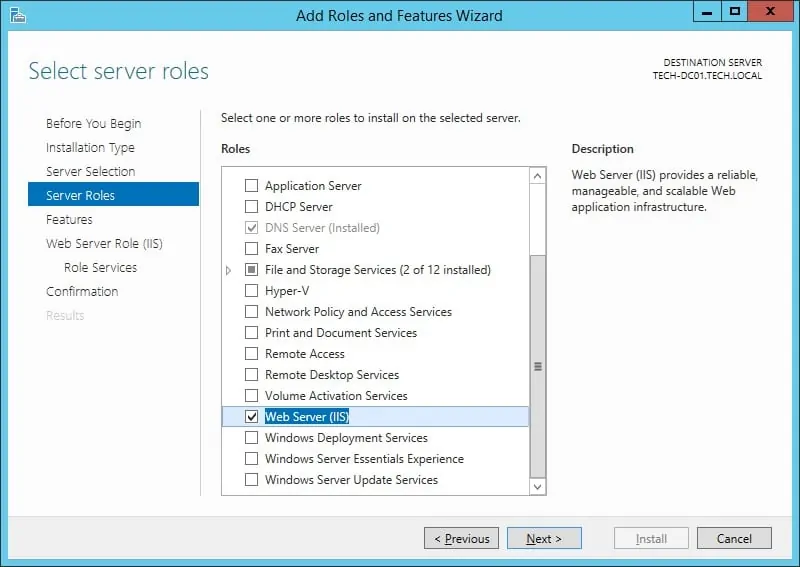
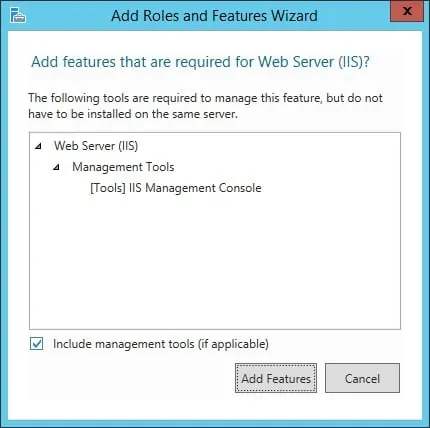
On the following screen, click on the Add features button.
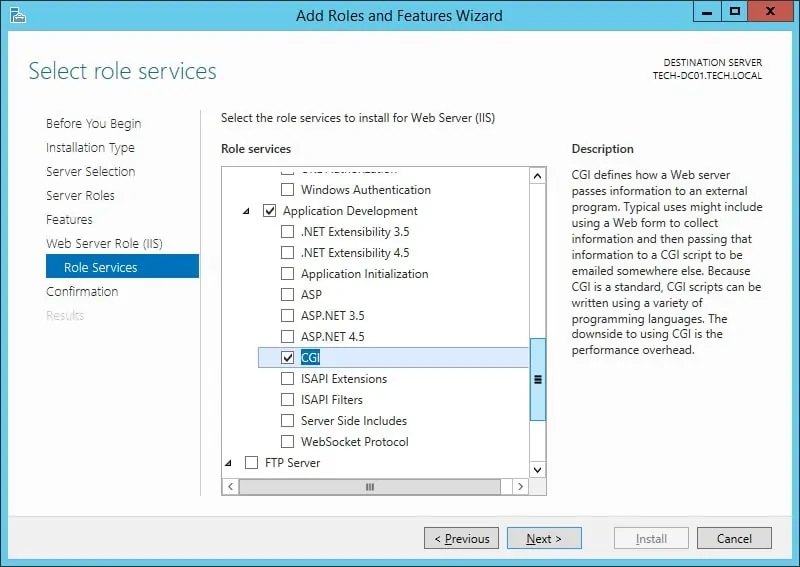
On the IIS service screen, select the CGI option and finish the installation.
The IIS server was installed on your computer but we still need to configure the PHP integration.
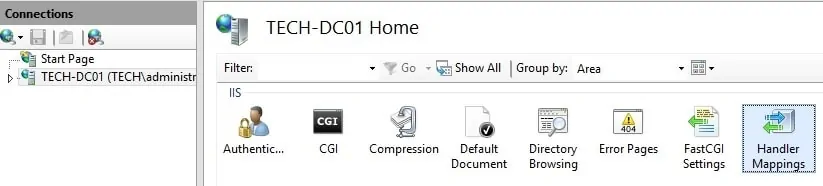
Open the IIS manager application and access the Handler Mappings option.
On the right part of the screen, select the option named: Add Module Mapping.
On the Module mapping screen, you will have to enter the following information:
Copy to Clipboard
• Request Path - *.php
• Module - FastCGIModule
• Executable - C:\php\php-cgi.exe
• Name - PHP
Click on the button named: Request Restrictions.
Select the File or Folder option and click on the OK button.
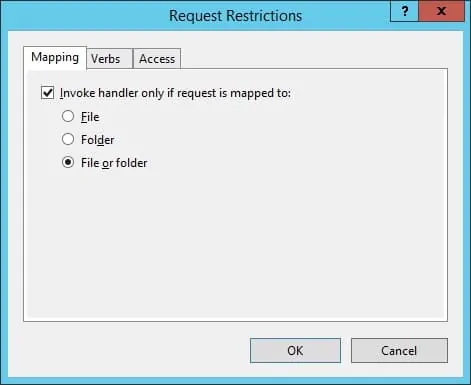
Click on the OK button.
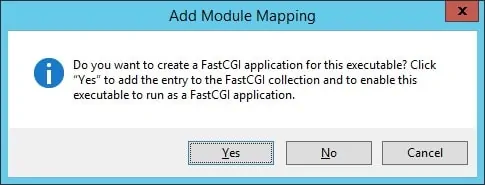
If the following message is presented, click on the Yes button.
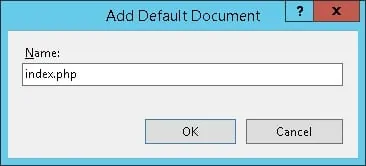
Now, we need to configure IIS to accept index.php as a default page.
Open the IIS manager application and access the Default Document option.
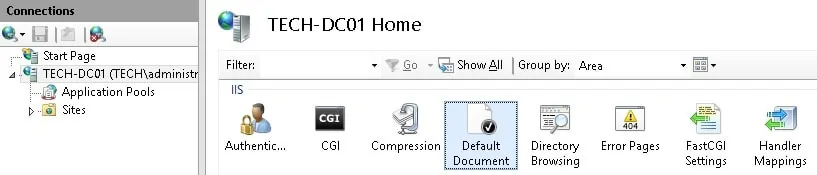
On the right part of the screen, select the option named: Add…
On the Add default document window, you will have to enter the following information:
Copy to Clipboard
• index.php
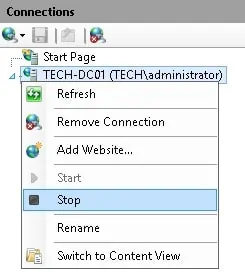
To finish the installation you need to restart the IIS service.
Right click on the server name on the top left part of the screen and select the option Stop.
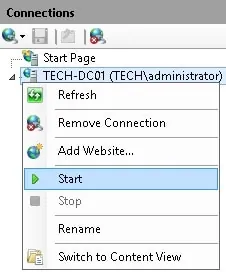
Right click on the server name on the top left part of the screen and select the option Start.
Congratulations! You have installed PHP on the Windows server.
The IIS server is now supporting the use of PHP.
Open the notepad application and create a document named test.php
This document should be placed inside the WWWROOT folder.
Copy to Clipboard
<?php
phpinfo();
?>
Open your browser and enter the IP address of your IIS web server plus /test.php
In our example, the following URL was entered in the Browser:
• http://35.162.85.57/test.php
The following content should be presented.
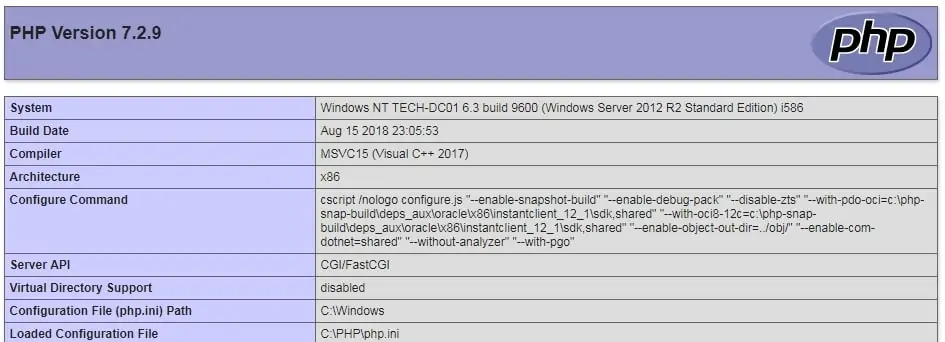
The PHP installation on IIS was tested successfully.


Find — extension_dir = “./” — Replace with — extension_dir = “C:PHPext”
Find — fastcgi.impersonate=0 — Replace with — fastcgi.impersonate=1
Find — cgi.fix_pathinfo=0 — Replace with — cgi.fix_pathinfo=0
Find — cgi.force_redirect=1 Replace with — cgi.force_redirect=0
Find — error_log = php_errors.log (remove “;“)
Find these lines below and remove only (“;“) from their start.
extension=curl
extension=gd2
extension=mbstring
extension=mysqli
extension=pdo_mysql
extension=xmlrpc